
Dashboard guide
Let customers reach you on a realistic schedule
Set the workspace time zone and weekly support hours, then review how availability works with your answering mode.

Short answer
Business hours lets you describe when your team normally serves customers. Select the business time zone, start from a preset or define a weekly schedule, then apply the intended hours. Review the schedule together with answering mode and team availability, because a calendar alone does not determine who owns an existing conversation.
Start with the right time zone
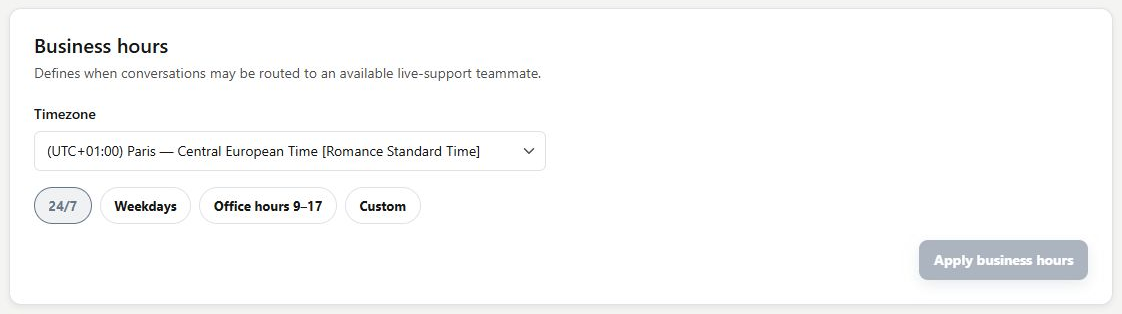
Open Setup > Business hours. Check the time zone before choosing hours, especially when team members work in different places. Use 24/7, Weekdays or Office hours as a starting point when they match the operation. A preset is useful only when it reflects the service you can provide.
Review the week before applying it
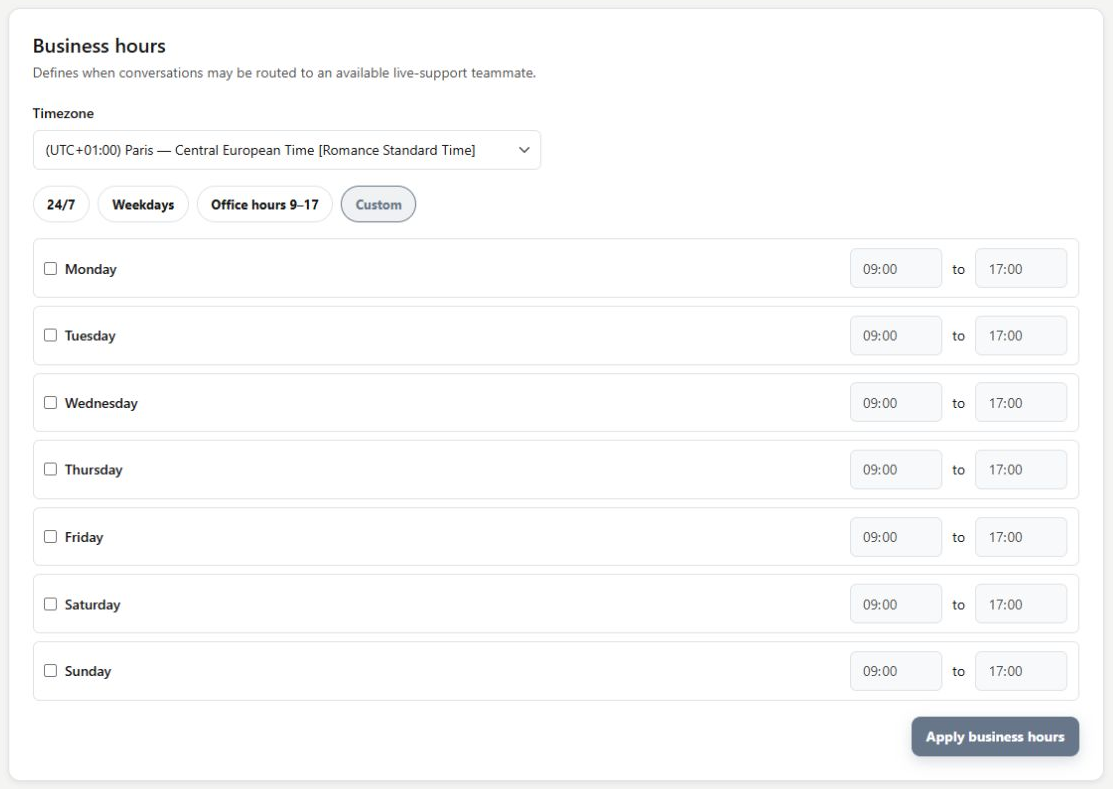
Choose Custom to inspect a day-by-day schedule. Mark the working days and review each opening and closing time. Apply business hours commits the intended schedule. Then check the answering policy and customer-facing away experience so the written hours and real handling agree.
- The screenshot shows an unsaved custom schedule.
- The schedule describes service hours; it does not book appointments or assign an enquiry.
What you can do
Use the visible controls to review the setup and choose the next step.
- Select the business time zone.
- Choose a schedule preset or inspect Custom hours.
- Review individual working days and time ranges.
- Apply the intended weekly schedule explicitly.
Continue with the Dashboard guides or your inbox.
Good to know
Use the business time zone displayed in Business hours. Check it explicitly rather than assuming that your personal device's zone matches the business.
Before you begin
Open the intended workspace and review the current state.
- Check the active workspace and your access.
- Review the relevant information and available controls.
- Verify the result after making an intended change.