
Dashboard guide
Give each colleague the access their work needs
Review roles and membership, prepare an invitation and distinguish team access from customer conversation ownership.

Short answer
Team & access helps an Owner or Admin review membership and invite colleagues with an allowed role. Each person uses their own account. Owners can manage Admin and Support roles; Admins manage Support. Invitations, active membership and ownership transfer are different states, so check the intended person and workspace before changing access.
Review role and membership state
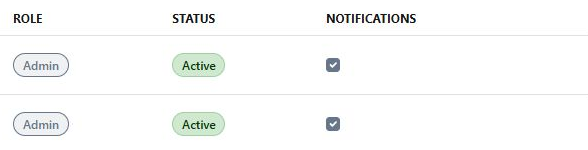
Open Settings > Team & access. Search Members and review role, invitation or active state and availability. The cropped example focuses on role and status without publishing private email addresses. Support members cannot open the roster; they can work on conversations within their allowed access.
Prepare the invitation for the correct colleague
Choose Add member, enter the intended email and optional name, and select an allowed role. The screenshot shows an unsubmitted form for an Admin, whose available invitation role is Support. Review the details before adding the person. An invitation is a single-use link valid for seven days; resending replaces the previous link.
- Use Resend for a pending or expired invitation instead of creating duplicates.
- Remove access only for the intended member.
- Ownership transfer requires the current Owner, an active teammate, recent sign-in and the displayed confirmation.

What you can do
Use the visible controls to review the setup and choose the next step.
- Search workspace membership.
- Review roles and invitation or active state.
- Invite a colleague with an allowed role.
- Manage access according to the current member's permissions.
Continue with the Dashboard guides or your inbox.
Good to know
Owner manages Admin and Support; Admin manages Support. The available controls follow that boundary.
Before you begin
Open the intended workspace and review the current state.
- Check the active workspace and your access.
- Review the relevant information and available controls.
- Verify the result after making an intended change.